
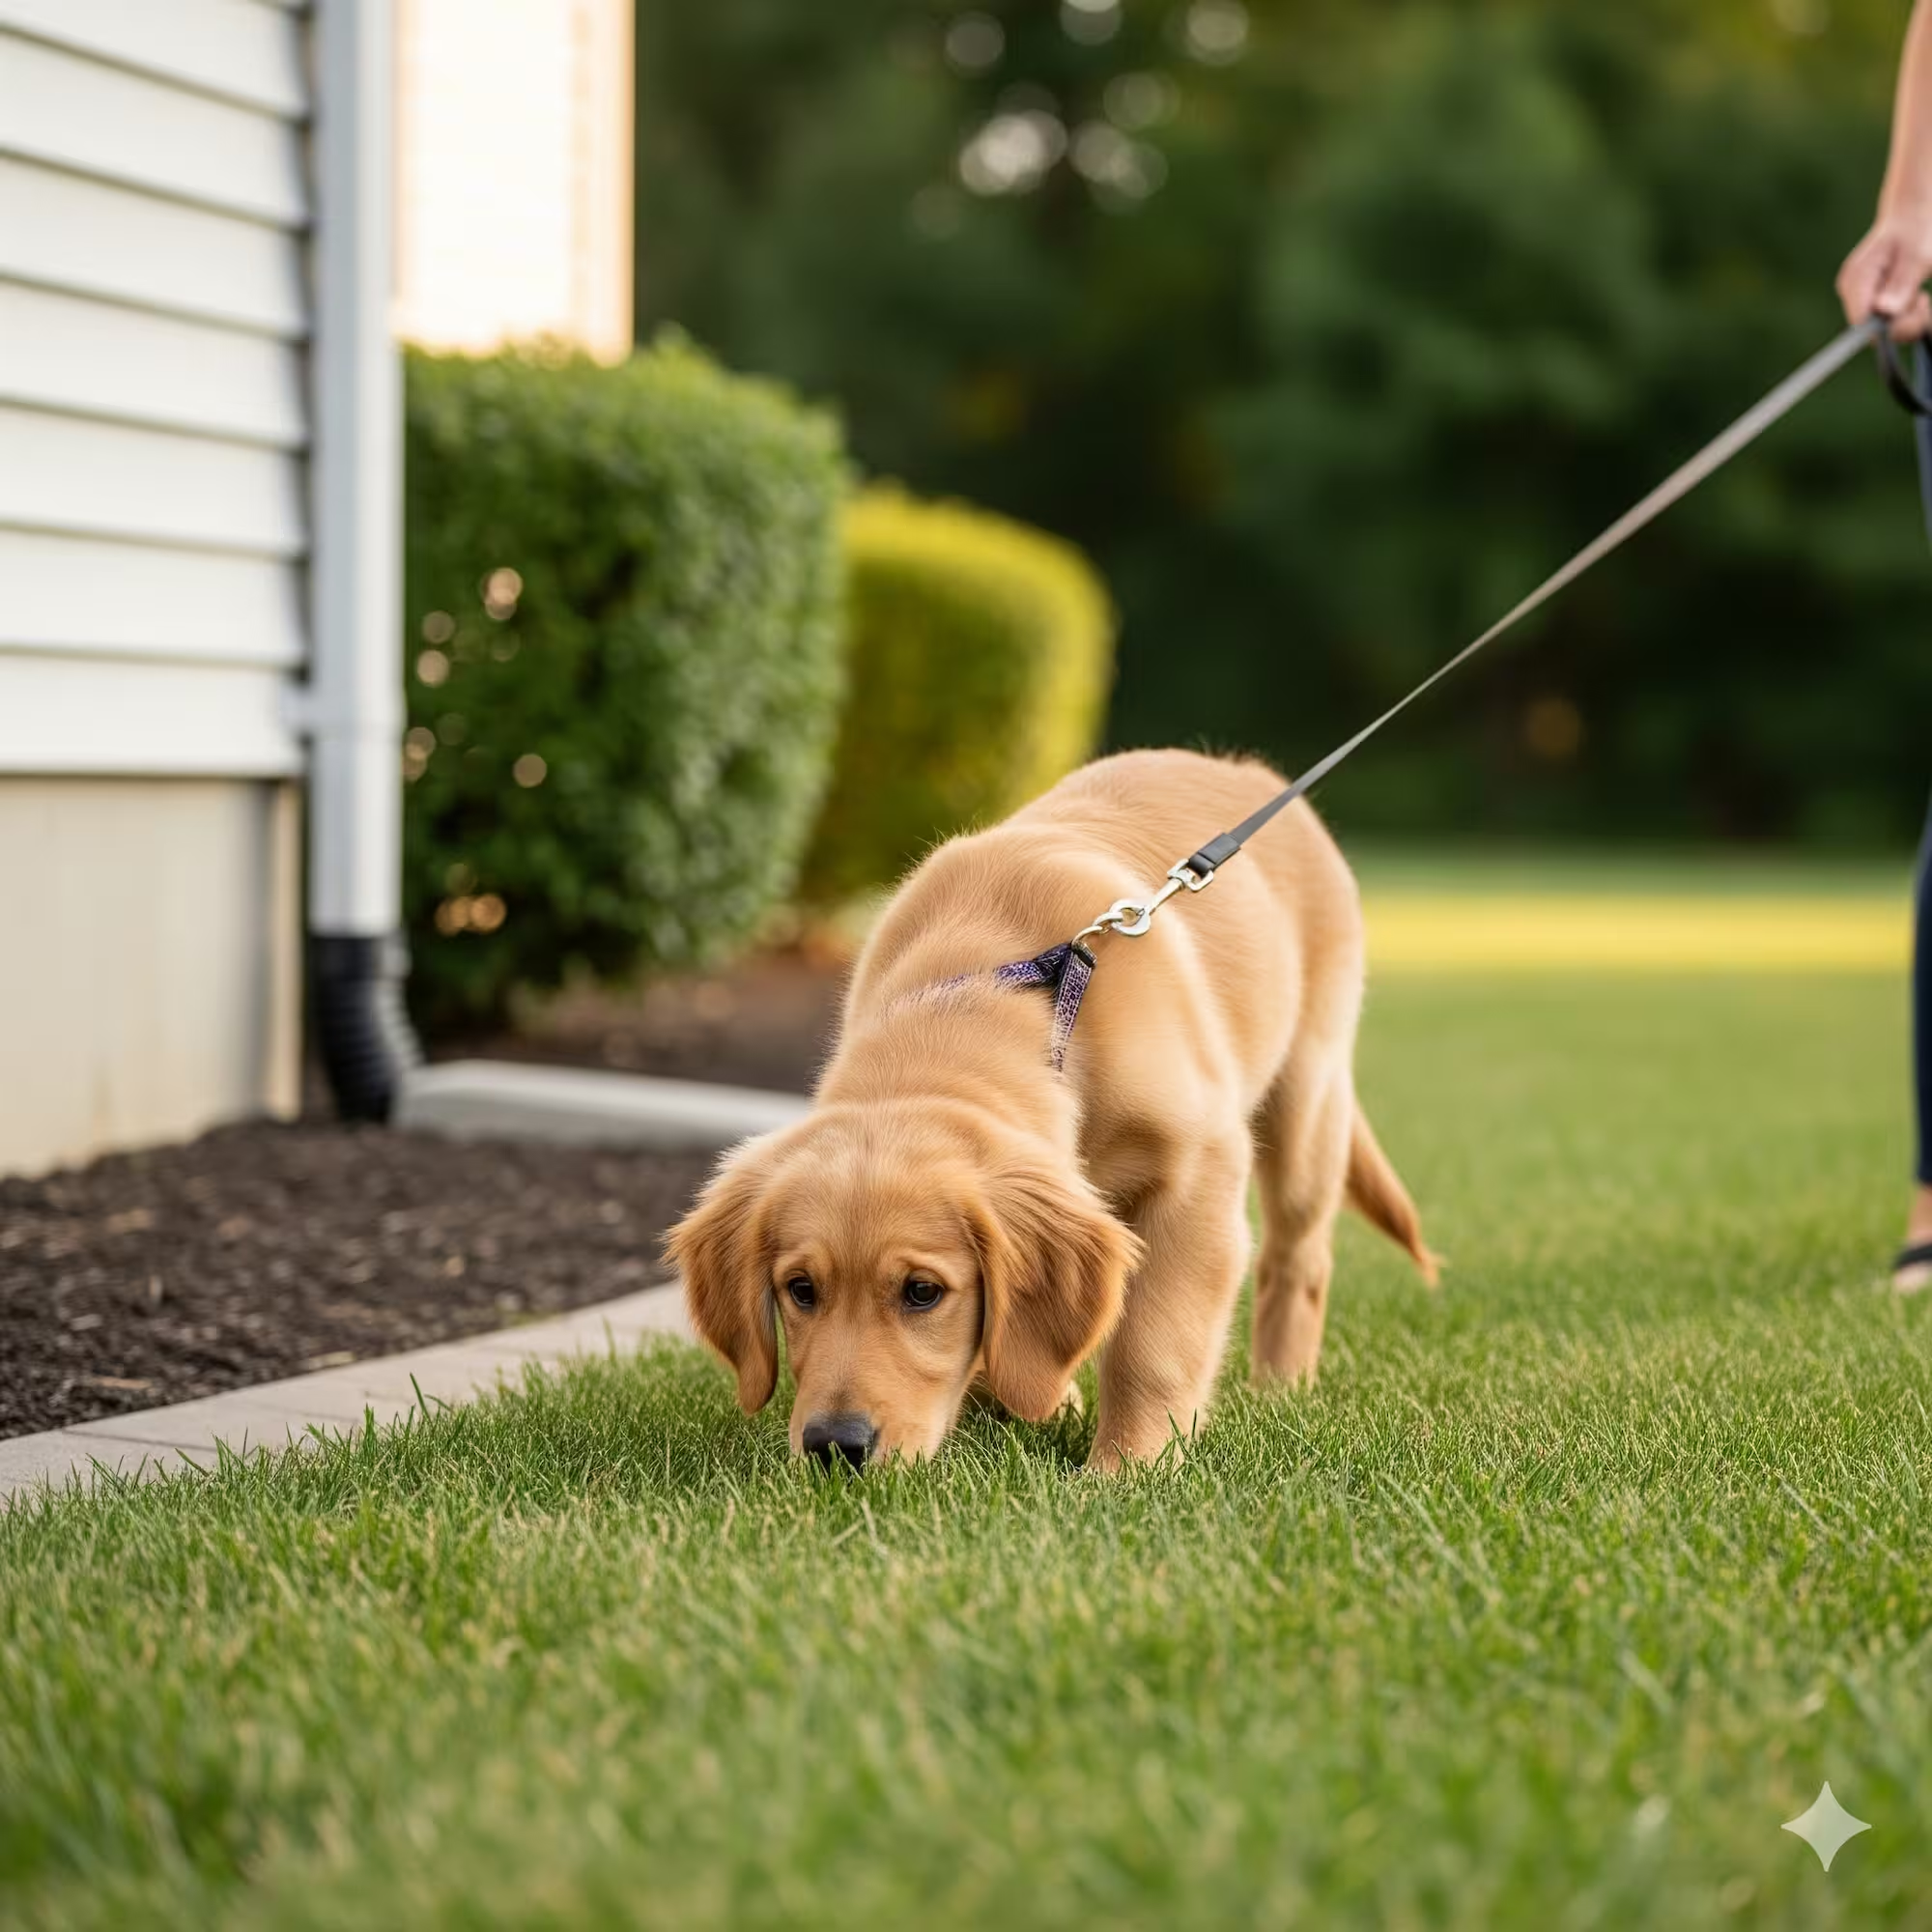
Picture this: You’re on a walk, and your dog suddenly lunges toward a discarded chicken wing on the sidewalk. Or you’re cooking, and a piece of onion—toxic to dogs—falls to the floor. In these heart-stopping moments, a reliable “Leave It” command isn’t just a party trick; it’s a potentially life-saving skill.
Teaching this cue is one of the most important things you can do for your dog’s safety. But it can feel daunting. How do you compete with the allure of sidewalk snacks or dropped food? The answer lies not in force or intimidation, but in turning the learning process into a fun and rewarding game. This guide will walk you through exactly how to teach a dog to leave it, building a rock-solid response based on trust and positive reinforcement.
Understanding What “Leave It” Really Means
Before we start, it’s crucial to understand what we’re asking of our dogs. To a dog, the dog leave it command shouldn’t mean “Don’t touch that, or you’ll get in trouble!” Instead, it should mean, “Ignore that interesting thing, and turn your attention back to me for something even better.”
This distinction is vital. We are teaching a dog to make a choice: the choice to disengage. When they consistently learn that disengaging from a forbidden item earns them a high-value reward from you, they will start offering that behavior willingly.
“Leave It” vs. “Drop It”: What’s the Difference? It’s easy to confuse these cues, but they serve two different purposes:
- Leave It: Use this before your dog has the item in their mouth. It’s for preventing them from picking something up.
- Drop It: Use this when your dog already has an item in their mouth that you need them to release.
For this guide, our focus is on the proactive dog leave it command, which stops problems before they start.
Getting Started: Your Training Toolkit
The foundation of this process is built on setting your dog up for success. You wouldn’t try to teach a child calculus in a noisy arcade, and the same principle applies here. Paired with other foundational skills like a solid stay command, “Leave It” helps build a reliable and safe canine companion.
What You’ll Need:
- Two Tiers of Treats:
- A “boring” treat: A piece of your dog’s regular kibble or a low-value, dry biscuit.
- A “super” treat: Small pieces of high-value food your dog loves, like chicken, cheese, or freeze-dried liver. This should be significantly more exciting than the boring treat.
- A Quiet Space: Begin your training in a calm, distraction-free room in your house.
- Patience: Remember, this is a process. Keep sessions short (2-5 minutes) and always end on a positive note. Short, fun training sessions are a fantastic form of mental enrichment for your dog.
“Leave It” — Interactive Training Planner
Use the pills to change context and drag the scroll bar to progress from easy setups to real-world challenges.
Compare four key variables
What the bars mean: Lower latency to disengage and smaller distance buffer indicate better stimulus control. Longer hold duration (dog maintains leave-it) and higher success rate reflect reliable behavior.
Shift the scroll bar to move from simple setups (low arousal, easy items) to complex contexts (moving toys, street food, wildlife). This mirrors humane protocols: antecedent management, differential reinforcement (reinforce looking away), and gradual generalization.
Use high-value food for early reps, then fade to intermittent reinforcement as reliability grows. This aligns with positive reinforcement leave it training, how to teach a dog to leave it step by step, and leave it for reactive dogs best practices.
How to Teach a Dog to Leave It: The Step-by-Step Method
Follow these steps progressively. Don’t move to the next one until your dog is confidently successful with the current step.
Step 1: The Closed Fist Game
The goal here is to teach the basic concept: ignoring something leads to a reward.
- Take a piece of the “boring” kibble and place it in your hand, closing your fist around it.
- Present your closed fist to your dog, letting them sniff and investigate. They will likely lick, paw, or nudge your hand. Let them. Stay quiet and still. If your puppy is overly mouthy, you may need to work on stopping aggressive puppy biting alongside these exercises.
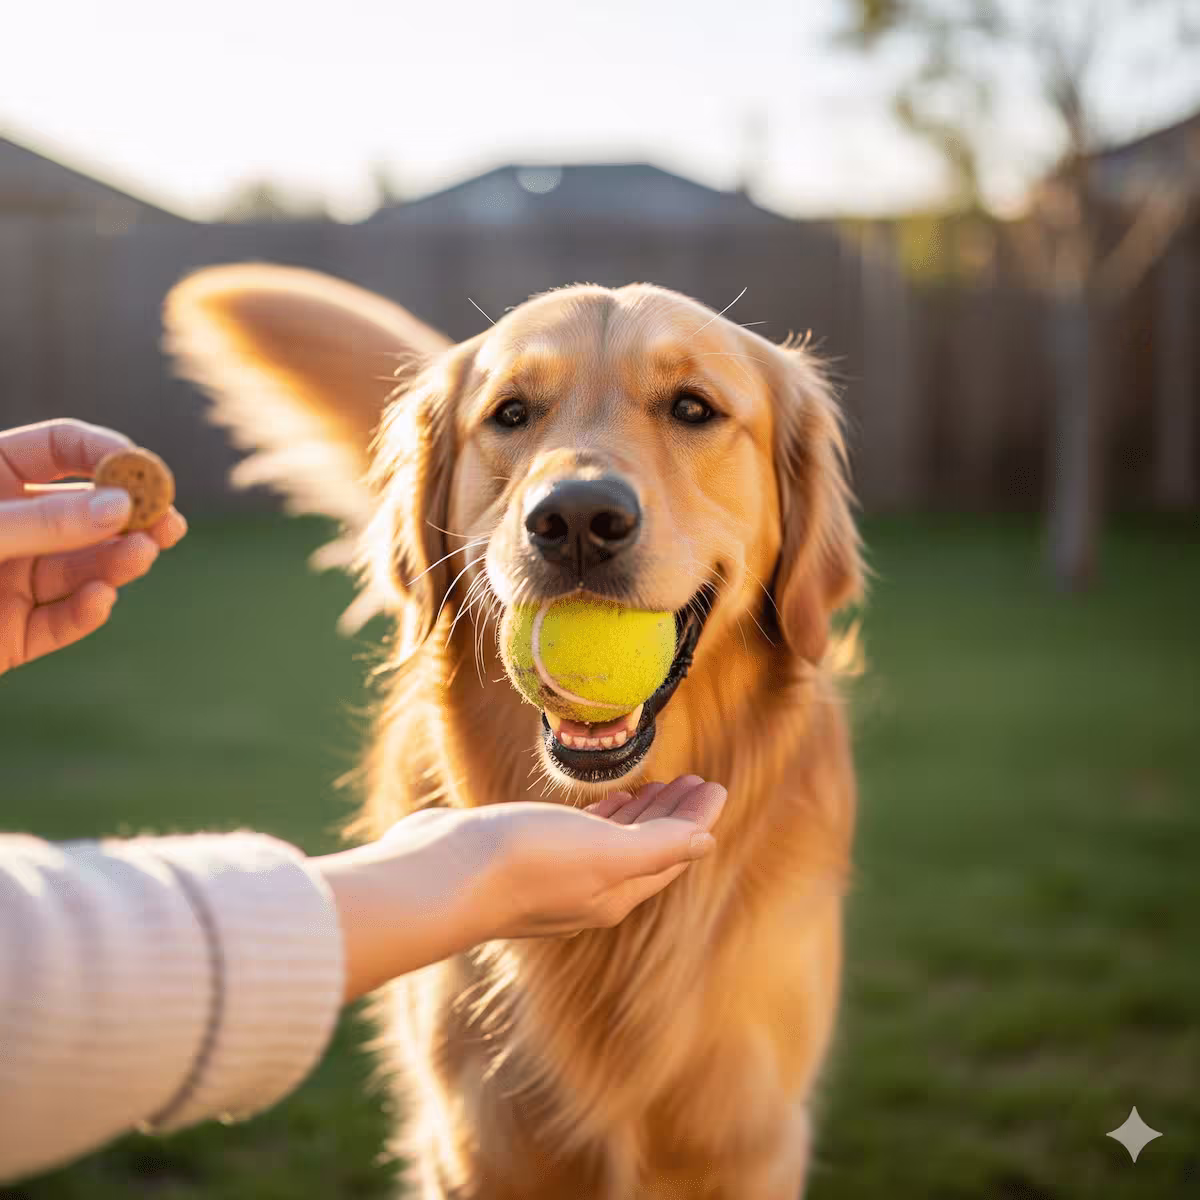
- The moment your dog pulls their head away, even for a split second, say “Yes!” in an upbeat tone and immediately give them a high-value treat from your other hand.
- Repeat this 5-10 times. Your dog will quickly learn that mugging your hand doesn’t work, but backing away does. This is the foundation of the dog leave it command.
Important: The reward must always come from your other hand or your pocket. This teaches your dog that the magic (the best treat) comes from you, not from the forbidden item.
Step 2: The Open Hand Challenge
Now, we increase the difficulty slightly.
- Place the boring kibble in your open palm.
- As your dog leans in to get it, close your fist before they can snatch it. Let them sniff your closed fist as in Step 1.
- When they back away, open your hand again. Repeat until they hesitate instead of diving right in.
- The moment you see that hesitation—a pause, a glance up at you—say “Yes!” and reward them with a super treat from your other hand. This self-control is a wonderful skill, especially when you are teaching a puppy to be gentle with kids.
- Once your dog is reliably hesitating, you can introduce the verbal cue. As they start to move away from the treat, say “Leave it” in a calm, clear voice. Mark with “Yes!” and reward. This is how to teach a dog to leave it by associating the words with the action they’re already performing.
Leave It vs. “Drop It” vs. “Off” — quick reference dropdowns
 Impulse Control
Leave It
Definition
Dog disengages from an item or target before contact—no sniff/lick/touch.
Why it works
- Differential reinforcement: mark and pay for looking away.
- Reduces impulsive grabs; strengthens executive control.
Steps (condensed)
- Closed hand with low-value food → mark eye contact → reward from the other hand.
- Open hand → floor → add movement → real-life items (food on walks, toys).
- Progress: distance → duration → distraction.
Common errors
- Paying from the item hand (blurs contingency).
- Advancing to hard distractions too fast.
 Trade & Release
Drop It
Definition
Dog opens mouth and lets the item fall on cue.
Why it works
- Operant + classical: “Drop” predicts better reinforcement (treat or tug resumes).
- Safe trades reduce risk of guarding and conflict.
Steps (condensed)
- Low-value toy → still hands → present food at nose → mark release → give food → then return toy.
- Fade prompt: cue “Drop,” wait one beat, then offer food if needed.
- Generalize across toys; add movement last.
Common errors
- Prying mouth open (creates resistance).
- Never returning the toy (dog stops dropping).
 Four-on-the-Floor
Off
Definition
Dog removes paws/body from a surface or person on cue.
Why it works
- Reinforces an incompatible behavior: four paws on floor.
- Prevents rehearsal of jumping; reduces accidental scratches.
Steps (condensed)
- Lure down with a treat; as paws hit floor, mark “Yes!” and pay on the floor.
- Add verbal “Off” just before movement; fade lure to a hand signal.
- Generalize: couches, beds, laps, and greetings.
Common errors
- Using “Down” (conflicts with lie-down cue).
- Feeding on the furniture (reinforces being up).
Each command requires its own training plan. Leave It is foundational for impulse control and makes Drop It and Off easier to teach. Keep sessions short, reinforce generously, and progress one criterion at a time (distance → duration → distraction). This aligns with humane, evidence-based dog training.
Step 3: Moving to the Floor
This brings the challenge closer to a real-world scenario.
For evidence behind reward-based “leave it” training—and why aversives are discouraged—see the American Veterinary Society of Animal Behavior’s 2021 Humane Dog Training Position Statement.
- Place a boring treat on the floor, but keep your hand covering it.
- Let your dog sniff your hand. As in Step 1, wait for them to back away, then mark (“Yes!”) and reward from your other hand.
- Once they are automatically backing away from your hand on the floor, you can begin to lift it. If they lunge for the treat, simply cover it back up. No scolding needed—the loss of opportunity is the only consequence.
- When you can have the treat uncovered on the floor and your dog is looking at you instead, you’ve achieved a major milestone in mastering the dog leave it command.
Step 4: Proofing and Real-World Practice
“Proofing” is the process of teaching your dog to perform a cue in different environments and with higher distractions. This is where the dog leave it command becomes truly reliable.
- Add Distance: Stand up and drop the boring treat from waist height. Say “Leave it.” Reward generously when they ignore it.
- Increase Value: Start using slightly more tempting items on the floor, but be ready to cover them. Always reward with an even higher-value treat.
- Take It Outside: Begin practicing in your backyard on a leash. If you have a puppy scared of everything, start in a familiar and safe outdoor space. The leash is your safety net to prevent them from getting the item if they make a mistake.
- Practice on Walks: When you see a piece of trash or a leaf up ahead, use it as a training opportunity. Good manners on a walk are built from many skills, so consistent loose-leash walking training will make these moments easier to manage. Say “Leave it” before you get to it, and when your dog looks at you, reward them heavily.
Knowing how to teach a dog to leave it in the real world is about starting small and gradually increasing the difficulty. Don’t go from your living room to a busy park, especially if you need to socialize a shy puppy, and expect perfection.
Troubleshooting Common Issues
- “My dog is just too fast!” This means the temptation is too high for their current level of training. Go back a step to where they were successful. Management is also key—use a leash indoors if needed, or teach a solid place command to use during mealtimes.
- “It works for kibble, but not for real food.” This is normal! The value of the “leave it” item is higher, so the value of your reward must be, too. If they want to leave a piece of bread, you need to be ready to reward with a jackpot of chicken. This is a core part of successful leave it training for puppies and adult dogs alike.
- “My dog isn’t getting it.” Shorten your sessions and ensure your reward is high-value enough. Stay positive! Every dog learns at a different pace.
A reliable dog leave it command is built on a history of positive reinforcement. Every time your dog successfully ignores an item and gets a fantastic reward from you, you are strengthening that behavior. Through patience, consistency, and turning it into a game, you can build a skill that protects your dog and gives you invaluable peace of mind.
Want to dive deeper into proven dog training principles?
About the psychology of “Leave It”
How the cue works
The cue gains meaning through pairing and consequences. Hearing leave it predicts reinforcement for orienting away from the target and back to the handler.
- Classical: the phrase predicts good outcomes with the handler.
- Operant: looking away earns pay; touching the item does not.
The replacement behavior
Dogs succeed when a clear alternative is reinforced. Eye contact or a head turn is incompatible with grabbing the item.
- Mark within 1–2 s of the disengage.
- Deliver from the opposite hand to avoid accidental luring to the item.
Progression logic
Advance one criterion at a time to maintain a high success rate. Use the three Ds to plan sessions.
- Distance → reduce buffer as reliability rises.
- Duration → stretch the hold a few seconds at a time.
- Distraction → move from kibble to real-world temptations.
Why it’s humane
Positive reinforcement and errorless learning reduce conflict and rehearsal of unwanted behavior. Arousal stays in the learning zone.
- High rate of reinforcement early; fade gradually.
- Short sessions prevent frustration and scavenging attempts.
Mechanisms
- Antecedent–behavior–consequence: cue → disengage/eye contact → marker and food from handler.
- DRI/DRO: reinforce an incompatible or alternative response, not mere non-contact.
- Generalization: train in multiple contexts to avoid situational fall-off.
Metrics to track
- Latency to disengage (target: trending down to ~1 s).
- Hold duration before release (target: trending up to 5–10 s for common items).
- Success rate per session (target: ~80–90% before raising criteria).
Common pitfalls & fixes
- Reinforcing from the item hand → switch to the opposite hand to keep value with the handler.
- Jumping criteria too fast → change only distance or duration or distraction, not all at once.
- Using punishment when the dog fails → reset the picture, lower difficulty, raise reinforcement rate.
For tougher scenarios
- Street food or wildlife: increase distance, use higher value pay, and rehearse a stop-and-look routine.
- Reactive dogs in public: start with inert items, layer in movement later, and keep sessions short.
Christopher Quinn adopted his first dog, Loki, a spirited Border Collie/Jack Russell mix, after exiting Army service in the summer of 2012. That experience sparked a lifelong passion for canine behavior and positive reinforcement training.
He studied Principles of Dog Training & Behavior at Penn Foster and has since worked with hundreds of dogs from all backgrounds. Over the past two years, Christopher has fostered more than 30 rescue dogs, giving each one a chance at a better life.
Today, he continues to write, teach, and share insights on humane dog training, blending hands-on experience with a decade of dedicated study.